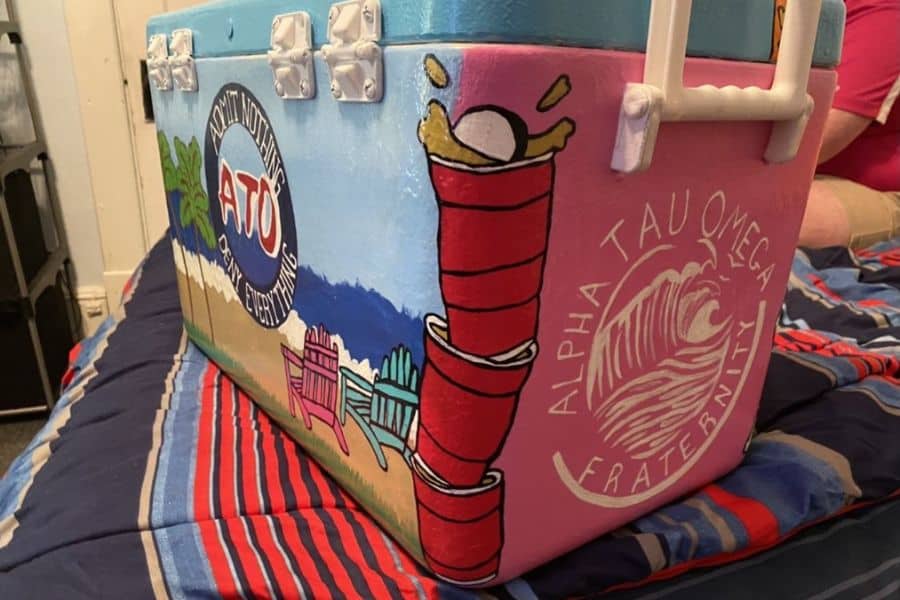
15 Painted Cooler Ideas That Are Perfect For Fraternities
Looking for the best painted cooler ideas? Here are 15 genius painted coolers that are perfect for frats.
This post may contain affiliate links, which means I’ll receive a commission if you purchase through my link, at no extra cost to you. Learn more: Affiliate Disclaimer.
One of the most fun greek life traditions is the frat formal cooler painting tradition!
If you’ve never heard of this tradition, it’s basically a “thank you” gift from a girl for being asked to Spring formal. The fraternity boy will ask the girl to formal, and in return she paints a cooler for him and fills it with drinks for the weekend.
[RELATED: 25 Super Trendy Sorority Paddles To Make For Your Big]
Painting a cooler seems like it would be a super quick and easy task, right? Well, I hate to break it to you but it can be SUCH a time-consuming process.
If you want to make a fraternity cooler that will last, you need to make sure it’s properly prepped, painted, and sealed.
Don’t worry though, in this post I’ve included EVERYTHING you need to know about how to paint a fraternity cooler. I also included 20 of the coolest painted cooler ideas that you can use as inspiration for your cooler!
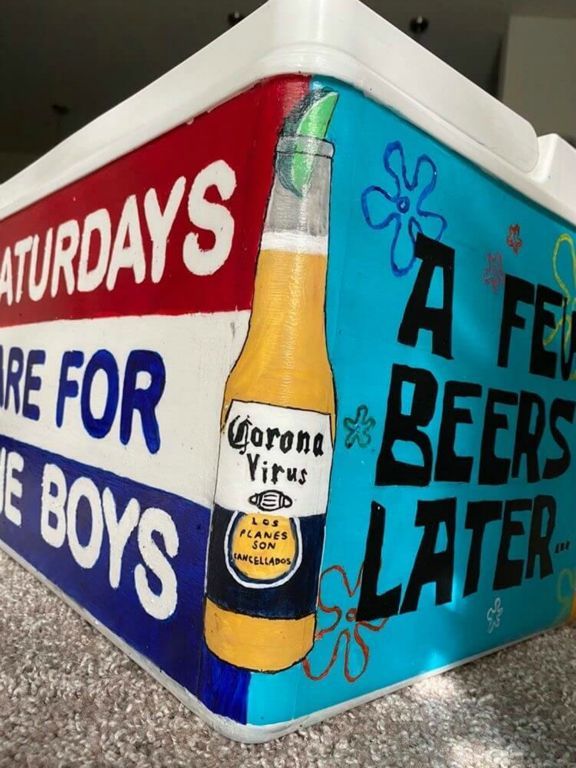
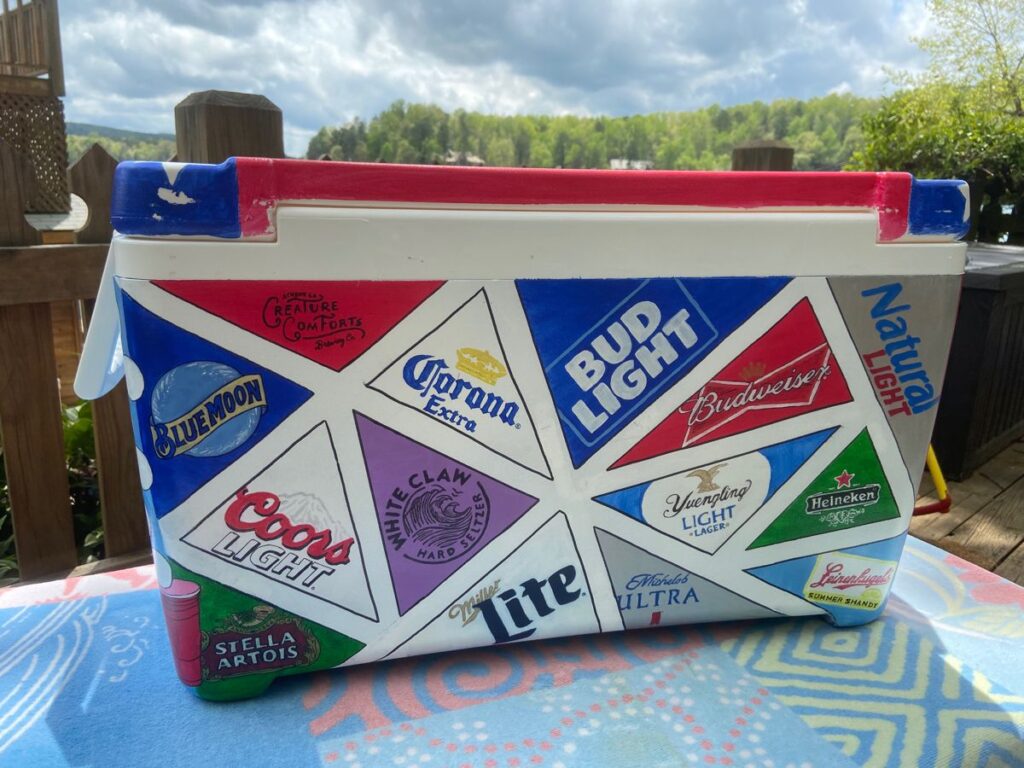
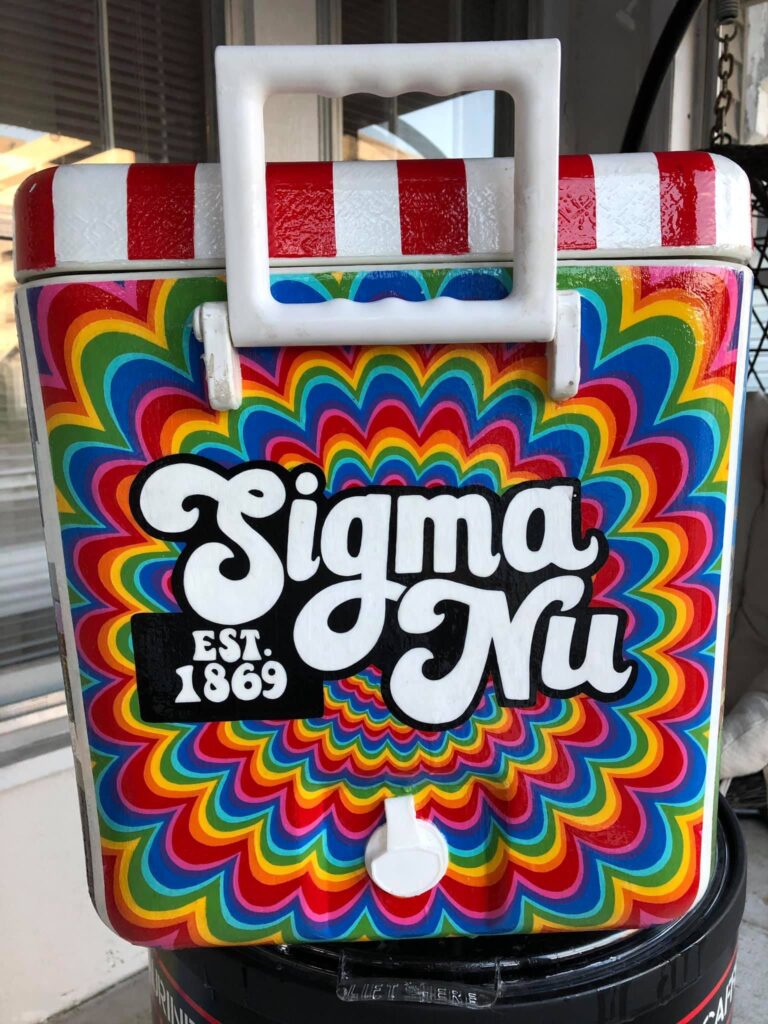
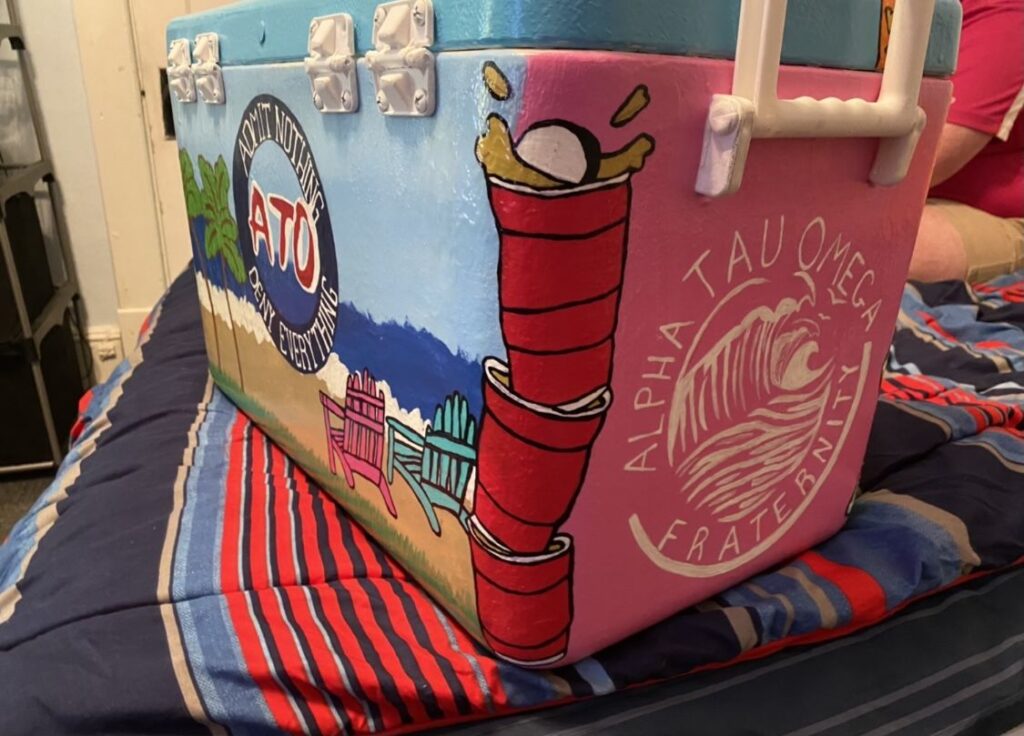
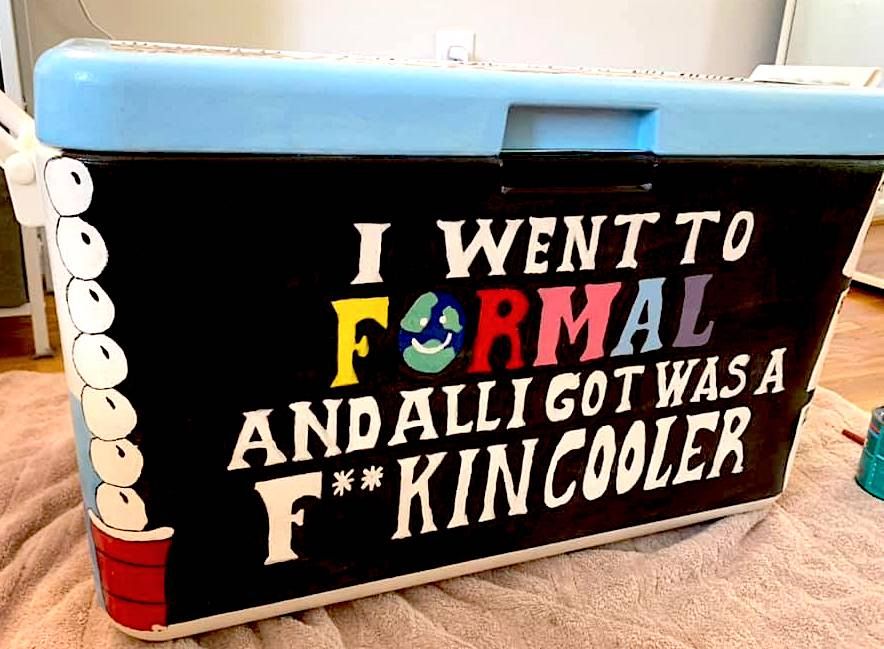
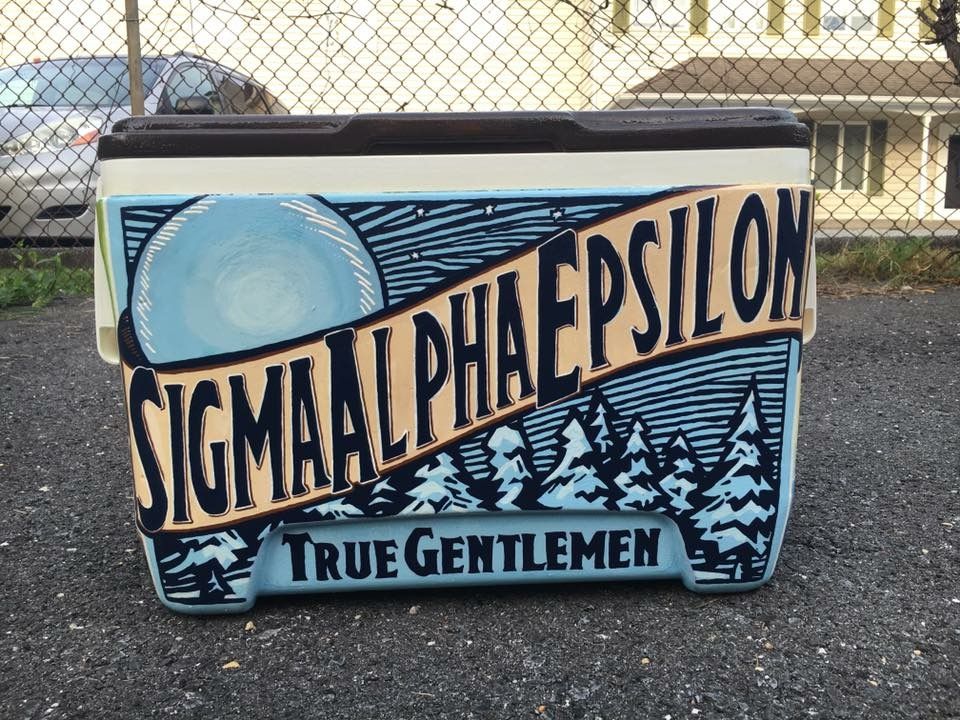
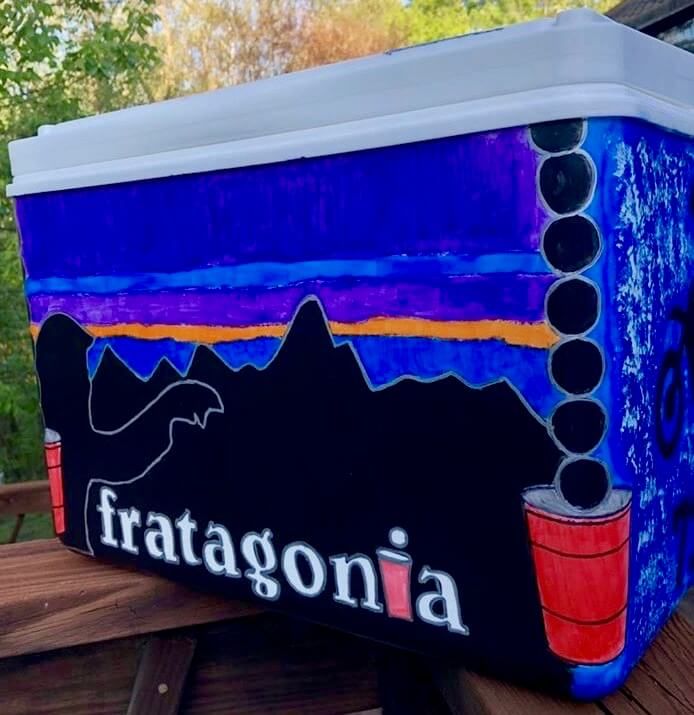
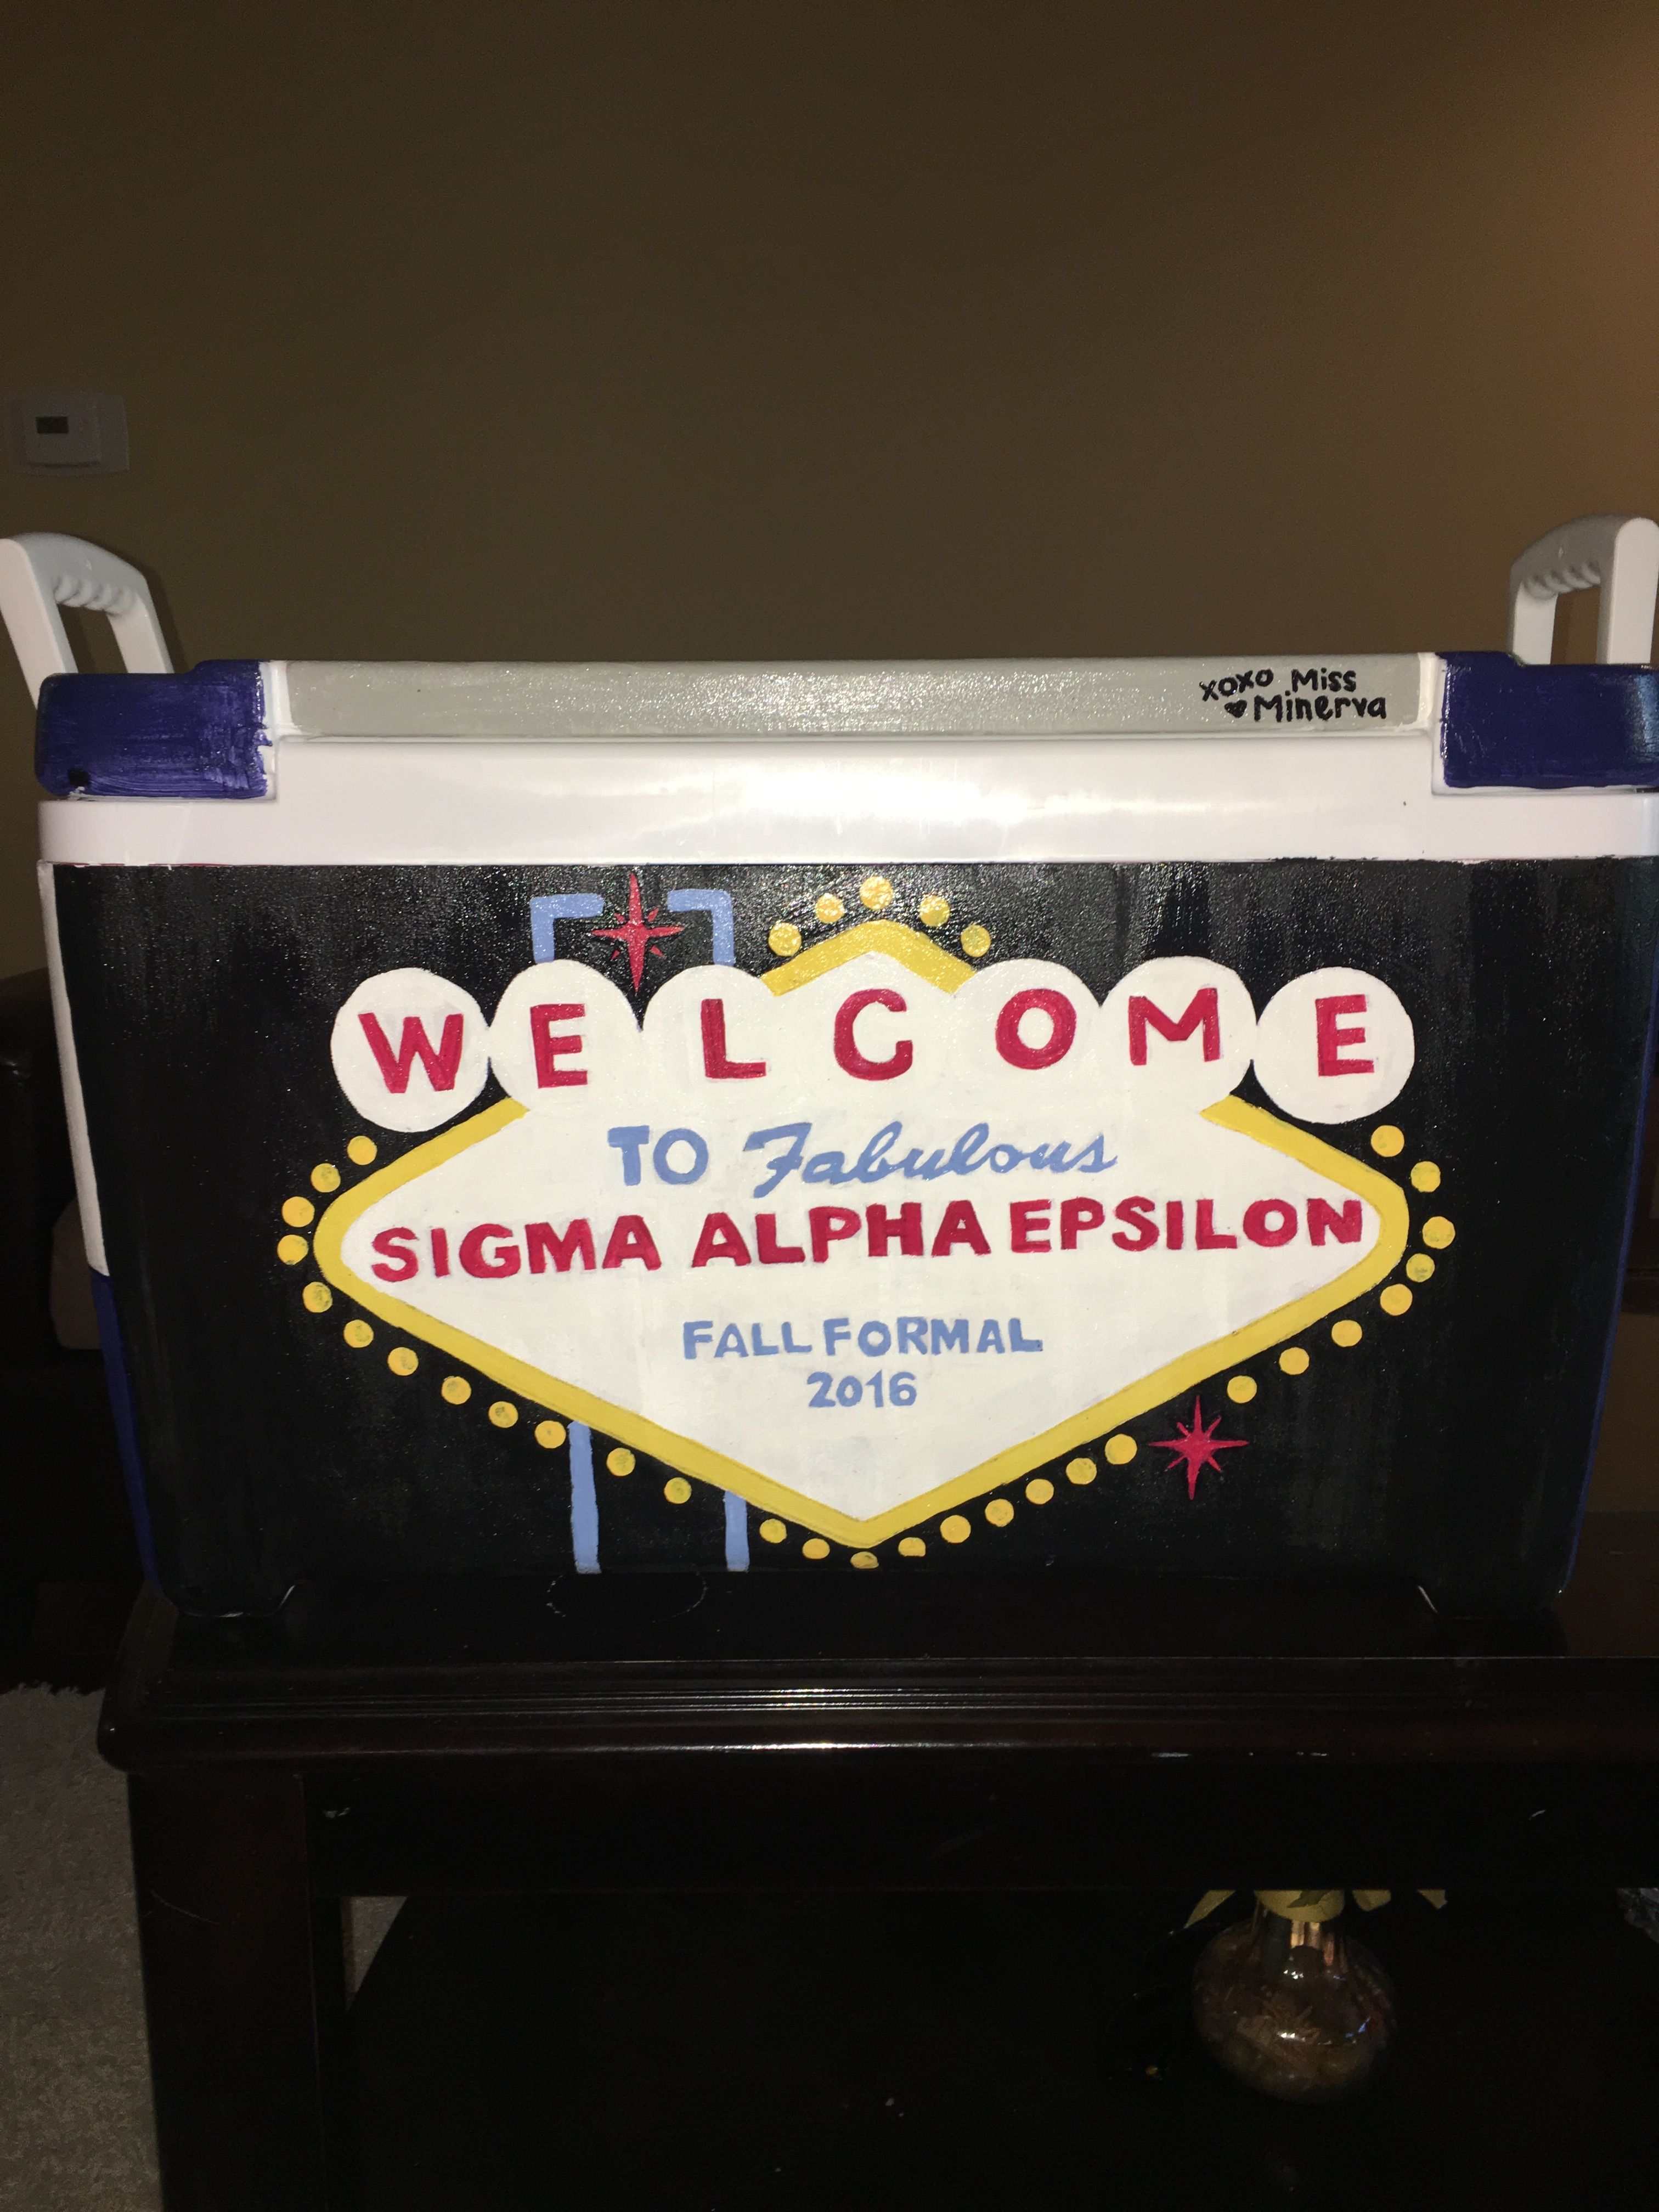
Painted Cooler Ideas For Frats
Looking for inspiration for how to paint your college or fraternity formal cooler? Here are some cool painted cooler ideas that will hopefully inspire you.
What You’ll Need To Paint A Frat Formal Cooler
Ready to start DIY-ing? Here’s everything you’ll need to make your own painted cooler for college or a fraternity formal.
Cooler


Obviously you’ll need a plain cooler to start with! The best options are hard-side coolers that have the least amount of grooves and texture.
You’ll want the smoothest possible surface to paint on. Don’t worry if your cooler has some texture though, we’ll take care of that with the spackling paste and sandpaper.
Sandpaper

You’ll use sandpaper to smooth out the texture of your cooler. This will give you a smoother surface to work with and the paint will stick to it a lot better. I recommend getting a sanding block or sanding sponges to make it easier.
Spackling Paste

You’ll use spackling paste to fill in the grooves or logos on your cooler. Again, this just gives you the smoothest possible surface to paint on.
Primer

A spray primer will go on before your first coat of paint. Primer helps prep your surface and makes sure that your paint sticks on really well.
Acrylic Paint

Acrylic paint is what you’ll use to make the designs on your fraternity cooler. I recommend getting one tube of acrylic paint per color. Or, you can buy a set with a ton of different paint colors like this one.
Paint Brushes

A set of paint brushes with different sizes will be so helpful when painting your college cooler. You’ll at least need a bigger brush for large designs and a really tiny brush for any small lettering.
Sealant Spray

After you’ve finished painting, you’ll want to seal your cooler with a good sealant spray. This will help protect your masterpiece from scratches and water damage.
Drop Cloth Or Newspapers

A drop cloth goes under your cooler while you’re painting. This will protect your floors from any paint spills during the process. If you don’t have a drop cloth handy, you could also use a few layers of newspaper or a tarp.
How To Paint A Fraternity Cooler
Step 1: Sanding Your Cooler
First thing’s first, you’ll need to sand down any texture on your cooler. The goal is to make it as smooth as possible so the paint will stick better. This process is a bit tedious, but it’s definitely necessary to make sure that your DIY painted cooler looks as good as possible.
Step 2: Spackle
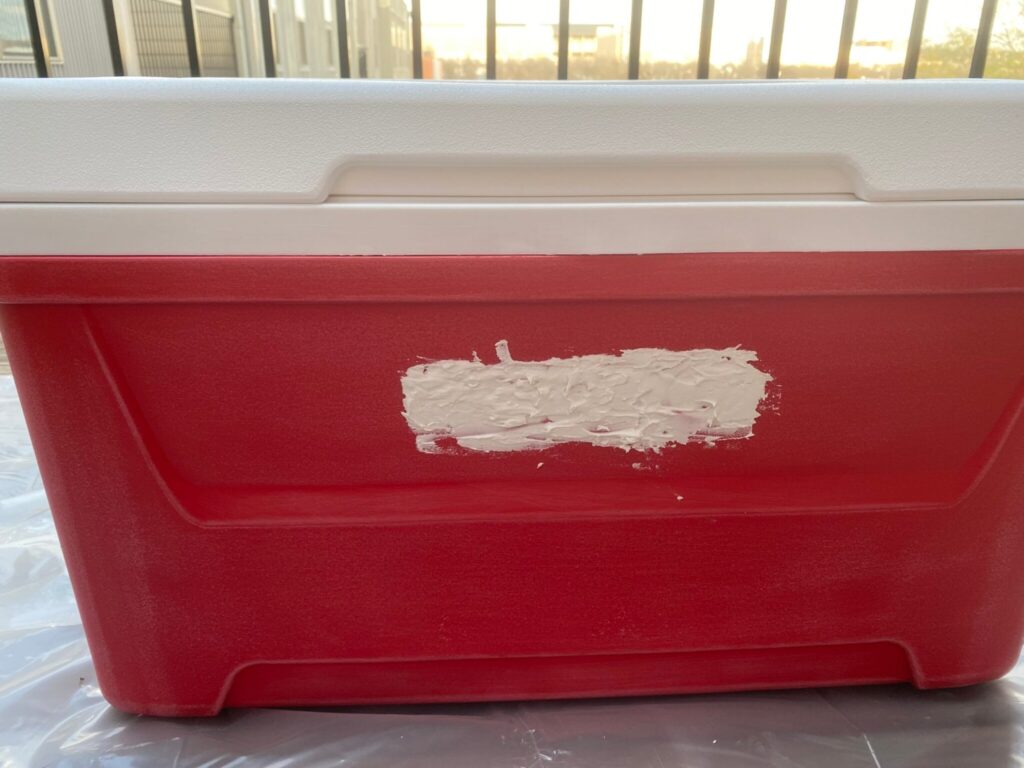
Next up, we’re going to fill in any grooved or indented areas with spackle. The most important place to do this is over the logo of your cooler.
Most coolers have indented logos that would be really annoying to paint over. Fill in the logo with spackling paste and smooth it over to give yourself an even surface to paint on. Make sure you get a spackling spatula with your spackling paste to make this process easier.
Once the spackle dries, sand it down so that it’s even with the rest of your cooler.
Step 3: Primer
Now we’re going to apply some primer to your cooler’s surface. This will give you a fresh canvas to work from, make your paint go on better, and help it to last longer.
It’s SO important that you choose a primer that is made to adhere to plastic. I recommend a white primer so that you have a clean and fresh surface for your design. Make sure that you do a couple coats of primer so that everything looks even.
Step 4: Outline Your Design
Once your primer is dry, it’s time to outline your design. I recommend drawing out all of the elements of your design with pencil before you start to paint. That way, you’ll be less likely to make permanent mistakes.
If you’re using stencils or tracing paper, make sure you secure it to your cooler with painters tape so that it doesn’t shift around.
If you find that the pencil outline isn’t showing up enough, you can try outlining with sharpie. Be aware that this is much more risky because sharpie is permanent. It can also show through your paint if you’re painting with a lighter color.
Step 5: Painting
It’s finally time to paint your college cooler! This is when you can start having fun with it and just let your creativity shine.
My recommendation is to paint one side of the cooler at a time, let it dry, and then move on to the next side. This will help prevent any smudging or scratches.
If you need the paint to dry quicker, you can use a hair dryer to speed up the process. Just make sure that you hold it far enough away from the cooler so you don’t cause any paint to run or transfer.
You’ll likely find that you need to do several coats of paint. This process can be tedious, but one layer of paint probably won’t look too good. Take your time and make sure each design is complete before moving on to the next one.
It’s also a good idea to tape off any areas that you don’t want to get paint on. Put painters tape over the handles, locking mechanisms, corners, etc. to keep them from getting paint smudges.
Step 6: Seal It
After your paint has fully dried, it’s time to seal your design with a spray sealant. This is SUCH an important step that definitely should not be skipped.
Spray your entire cooler with sealant, making sure to coat every side evenly. Repeat this 3-4 times to make sure that your cooler is totally waterproof and scratch resistant.
Let the sealant dry for at least a day, and then it should be good to go!
This post was all about how to paint a fraternity cooler.
You may also like: